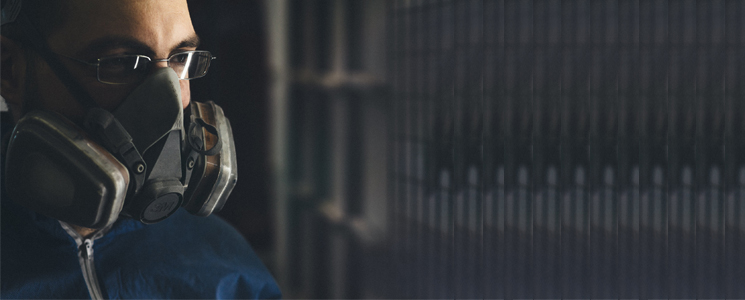
The respirator is an essential piece of safety equipment in the workplace. It protects workers from breathing in harmful gases, toxins, vapours and other tiny airborne particles. Respirators must be in good condition for it to function effectively.
While taking care of the respirator is easy, most people fail to do it, due to lack of the right know-how. Here, in this post, you can learn the best ways to keep your non-disposable dust mask in perfect condition, prolonging its life.
Step 1: Inspect your Respirator before Each Use
You need to inspect your respirator before wearing it to ensure that it’s in good operating condition. Here’s what to look for:
- Start by checking the face piece for dirt, tears or cracks. Check for distortions in the area covering the face. Look for signs of wear and tear.
- Next, take a close look at the inhalation and exhalation valves – look for signs of tearing, cracking or distortion.
- Wear the mask on your face and check the head straps. The straps shouldn't be too tight or too loose. They should fit right on your face.
- Next, examine all the plastic parts of the 3M respirator. Look for signs of fatiguing or cracking. Check if all the gaskets and seals are in perfect condition.
- The lens of the respirator mask should be clear and free from scratches that can impact vision while working.
If you notice any signs of wear and tear or cracking on the mask, then you should avoid wearing it while working in hazardous conditions. Replace the broken parts or discard the entire mask if the replacement part is not available.
Step 2: Cleaning Respirators before and after Use
Make it a practice to clean your protective mask before and after each use. Here’s a step-by-step guide to clean respirators:
- Disassemble the mask by removing all cartridges and filters. Note that cartridges and filters cannot be cleaned. Depending on the conditions, you can continue using them or replace them.
- Clean the rest of the face piece (apart from the filters and cartridges) by immersing it in warm water. Ensure that the water is not boiling, just lukewarm. The ideal temperature is 50◦C. Scrub the plastic and rubber parts of the mask with a soft brush.
- If required, you can use neutral detergents. Don't use oil-based cleaners like lanolin, etc.
- Then rub down the clean parts of the mask with household disinfectants like bleach. Avoid using alcohol-based disinfectants.
- Wipe dry with a clean, lint-free cloth or allow it to air dry.
- Reassemble the respirator. Replace filters and cartridges if required.
While the steps listed above work for all spray mask, make sure to read manufacturer instructions to check if your respirator requires any special cleaning procedures.
Side Note: When to Replace Filters and Cartridges?
As mentioned above, both of these components cannot be cleaned. They need to be reused until the end of the lifecycle and then discarded.
The frequency of filter replacement depends on several factors like – your work environment, the chemicals you're exposed to, the period of use, temperature and humidity of the work area, etc. Make sure to note the date of the last replacement, so that you know when next to replace the cartridge and filters.
Step 3: Respirator Maintenance
Storing your respirator along with your other work tools in a toolbox or the boot of your car is not the best way to keep it in perfect condition. Proper storage is as essential as cleaning the respirator. Store it in a cool, dry place away from direct sunlight. Avoid exposure to harmful chemicals and extreme temperatures as it can damage the integrity of the mask.
Check with the manufacturer to see if they provide a storage bag for dust masks. Before you store the respirator, make sure to remove the cartridge. Place the filter in a separate zip-lock bag to avoid contamination.
Increase the Longevity of your Dust Mask with Proper Cleaning
Respirators are your first line of defence against harmful chemicals and gases. Make sure that your reusable respirators remain in perfect condition for years to come by following the cleaning and maintenance steps listed here, regularly.


